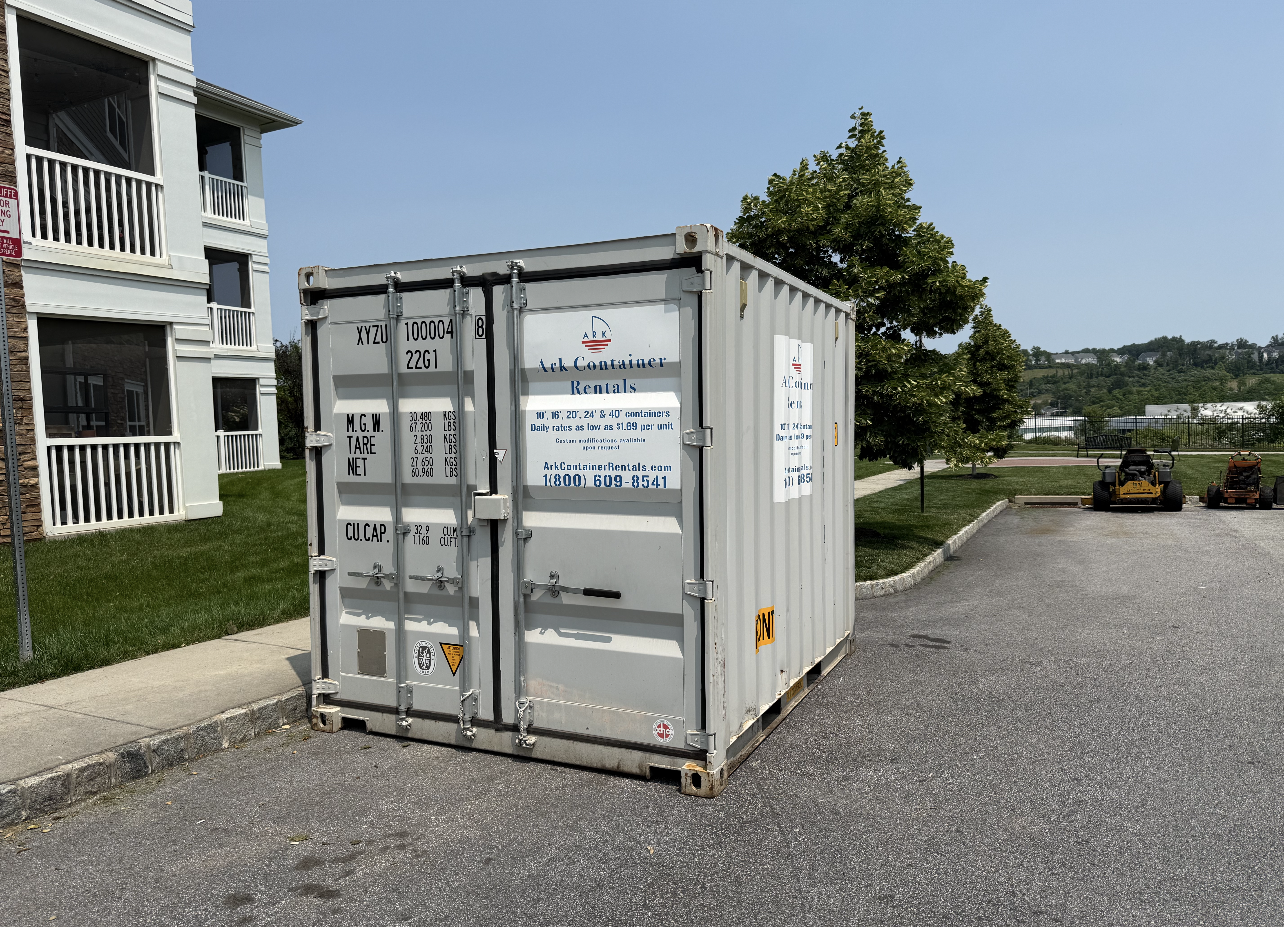
Before the first cabinet comes down or the flooring crew arrives, everything in the way needs somewhere to go. Moving furniture into the next room might work for a small project. During a larger renovation, it can leave you squeezing past boxes for weeks.
Storage containers for home renovations give you a place to keep suitable furniture, household belongings, and project supplies on your property. You can clear the work area while keeping stored items within reach.
The best setup starts before demolition. Here’s how to decide what belongs in storage, choose enough space, and plan delivery around the work.
Start With the Rooms You Need to Clear
Walk through the renovation area with your contractor and ask what needs to leave. A flooring project may require completely empty rooms, while a bathroom remodel could also affect the hallway and nearby closets.
Think beyond the room being renovated. Crews may need a clear route through the house for tools, materials, and debris removal.
Sort your belongings into three groups:
- Keep accessible: Everyday clothing, toiletries, chargers, paperwork, and anything needed for a temporary kitchen.
- Consider for container storage: Suitable furniture, boxed household goods, tools, and supplies you can set aside.
- Store elsewhere: Valuables, sensitive belongings, and anything requiring conditions a standard container cannot provide.
This gives you a useful inventory before you request a rental quote. It also prevents the coffee maker or your child’s school supplies from disappearing behind a stack of furniture.
What Can You Store During a Home Renovation?
Suitability depends on the item, its storage requirements, and the conditions inside the container. Use this list as a starting point, then review your inventory with your rental provider.
Category | Items to consider | Preparation |
Furniture | Chairs, tables, bed frames, and shelving suitable for the expected conditions | Disassemble where practical, protect surfaces, and label hardware |
Kitchen belongings | Dishes, cookware, utensils, and empty organizers | Wrap fragile pieces and use manageable boxes |
Household items | Decorations, lamps, and other suitable boxed belongings | Cushion breakables and label boxes by room |
Tools | Hand tools, toolboxes, and permitted equipment | Clean, dry, and organize before loading |
Renovation supplies | Hardware, fixtures, and materials approved for the storage conditions | Keep labels visible and check manufacturer instructions |
Furniture and Household Belongings
Removing furniture gives crews more room to work and keeps belongings away from active demolition, sanding, and painting.
Take photos before disassembling larger pieces. Place screws and brackets in labeled bags so you can match them to the right furniture when the room is ready.
Measure bulky items before booking. The sofa you maneuvered through your front door still needs to fit through the container opening and into your planned layout.
Tools and Project Supplies
A container can also help organize suitable supplies while work progresses. For example, keeping boxed fixtures together makes them easier to find when the installer needs them.
Coordinate with your contractor before storing building materials. Some products require indoor acclimation or specific temperature and humidity conditions. Delivery to your property does not necessarily mean they should go straight into a container.
What Should Stay Out of a Standard Storage Container?
A weather-tight container does not automatically provide climate control. Outdoor temperature changes and condensation can affect stored belongings.
Keep important documents, jewelry, medications, and irreplaceable keepsakes somewhere appropriate and accessible. Review storage requirements carefully for electronics, antiques, artwork, upholstered furniture, and other sensitive items.
Do not load damp belongings, perishables, or hazardous products into general storage. Paints, solvents, fuels, propane, and certain adhesives need particular attention and may be restricted.
For a closer look at these limitations, read our guide to what not to store in a storage container.
Choose a Container Size Around Your Inventory
Room count alone does not tell you how much storage you need. A lightly furnished guest room takes up less space than a home office filled with desks, shelving, and equipment.
Ark’s storage container rentals include several sizes. For renovation planning, 20-foot and 40-foot options are worth discussing:
- 20-foot container: Consider this when clearing selected rooms or storing a moderate amount of furniture and boxed belongings.
- 40-foot container: Discuss this option for larger renovations, bulkier contents, or projects that require more room to separate belongings and supplies.
These are starting points rather than guaranteed household capacities. Share an inventory, approximate furniture dimensions, and photos when requesting guidance.
Also explain how often you will need access. A tightly packed container may hold more, but retrieving a box from the back becomes difficult. Leave space for an aisle if you expect regular visits.
Plan Container Placement Before Delivery
The spot closest to your front door may also be where the contractor needs a dumpster or material delivery. Agree on a site layout before booking.
Coordinate With Your Contractor
Mark where the container, dumpster, work vehicles, and incoming materials will go. Keep access available for the household and the crew.
Think ahead to the later stages of the project. A container placed beside a garage could become an obstacle when it is time to replace the driveway or finish exterior work.
Check Local and HOA Requirements
Before arranging delivery, check with your municipality and homeowners association, where applicable, about temporary container placement.
Confirm any rules covering location, setbacks, placement duration, or use of public space. Do not assume the renovation permit also covers a storage container.
Load Around the Renovation Schedule
Packing by room helps, but packing in the order you will need things can save more effort.
Put belongings you will not need until the project ends toward the back. Keep approved supplies needed earlier near the doors.
A few habits make unloading easier:
- Label boxes on more than one side.
- Keep an inventory with matching box numbers.
- Place heavier boxes below lighter ones.
- Keep furniture hardware with clearly identified pieces.
- Separate contractor supplies from household belongings.
- Leave access to items you expect to retrieve.
Avoid stacking everything to the doors on delivery day. Take a moment to check that you can reach the right belongings without moving half the load.
Build Some Flexibility Into Your Rental Timeline
The day construction ends may not be the day you can move everything back.
Flooring, paint, and other finishes may need time before furniture returns. A final inspection, delayed fixture, or unfinished punch list can also affect your schedule.
Ask your contractor when each room should be ready for normal use, then discuss rental terms with Ark. Confirm billing, extension options, pickup scheduling, and any preparation required before collection.
When comparing quotes, ask about the full expected cost, including delivery, pickup, and applicable fees. That gives you a clearer budget than the rental rate alone.
Make Room for Your Renovation With Ark Container Rentals
Clearing the work area is easier when you know where everything will go. Ark Container Rentals provides residential storage solutions that help homeowners keep suitable belongings nearby during remodeling projects.
Tell us which rooms you are renovating, what you need to store, and where you would like the container placed. We can discuss container options and delivery arrangements around your project.
Request a free container rental quote or call (800) 609-8541 to get started.